
Introduction
Many Apple iPads can have the digitizer easily changed without the need for special laminating machines. However, variety of the high-end devices contain bonded screens where the digitizer is laminated to the display. When the screen breaks on these models (including the iPad Air 2, iPad Mini 4 and iPad Pro series) you'd normally must swap out the whole display. the good news is that you simply simply can now have these broken iPad LCDs refurbished at a price that makes it well worth a while .
Requirements
As long because the LCD itself remains functioning, able to "> you'll send us the display which we are able to refurbish it by laminating a replacement digitizer onto your LCD. Unlike our iPhone refurbishing service, we don’t require the touch to be working so on refurbish these iPads. this can be actually because our process involves laminating a replacement touchscreen and only using as on the brink of original parts as possible.
For us to be able to refurbish your iPad screens, the LCD itself must be fully working (only the touch are often defective). If there's any sign of LCD bleed, waves on the backlight, yellow bruising on the screen or pressure marks from the cracked glass then we would normally reject that screen.
Sending Us Your iPad Screens
If you'd wish to send us Apple iPad LCD screens to be refurbished please complete our refurbishment form first. Once you’ve filled in your details, if you need specific colours returned to you please add that as a note within the “Other” box.
After the form has been completed a duplicate are visiting be emailed to you. once you receive this please print off a reproduction and include it inside your the package alongside the screens.
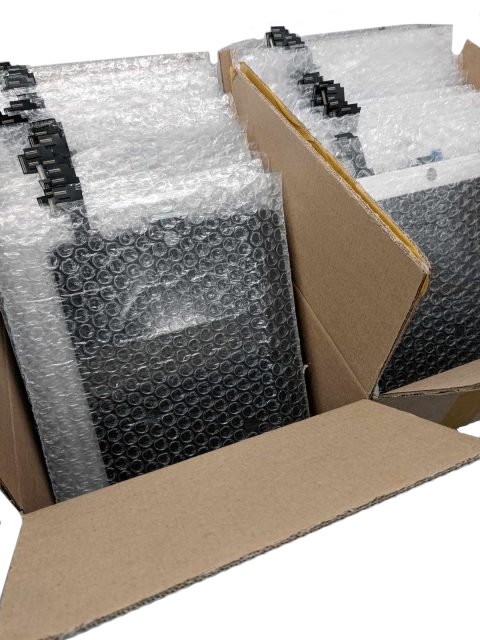
It is important you package the screens correctly to form sure they don’t get damaged within the post. (See our “How to Pack Screens” guide for full details). When the glass is already cracked, it makes the underlying LCD panel weaker as there is not any support from the glass to protect it. Any flexing of the screen can risk it getting broken, and rejected for refurbishment.
Once We Receive Your iPad Screens
Initial Checks
When your package arrives with us we check every screen carefully to form sure there are not any defects. We’re trying to find backlight damage, pressure marks on the screen, or maybe a badly dented backlight- all of which can mean an LCD is rejected. However, we always remit rejected screens with an order so if you’re unsure whether we might accept a specific LCD or not, then you’re quite welcome to send it to us to see .
Once we’ve tested the screens, we complete an intake form to form sure the entire number (and type) of screens sent matches those listed on your form.
The Refurbishment Itself
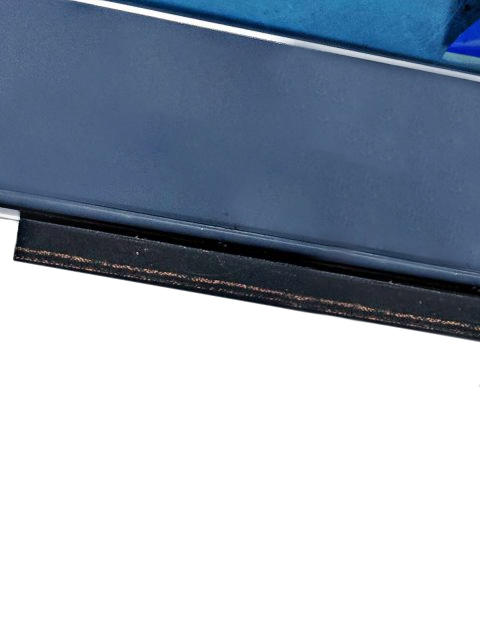
When a screen enters the refurbishment process, we generally cut the broken digitizer off using molybdenum cutting wire and a hot plate. another refurbishers use a freezer to separate these screens, but this is often risky because the iPad’s LCD panel uses a backlight which may be easily damaged this manner . By using the hotplate instead, we will preserve the first backlight.
Once the broken digitizer has been removed, we then pack up the iPad LCD and replace the polarizer as necessary. Next, the LCD would be fitted into the mould for our laminating machine, able to get the new digitizer laminated. We only use the very best quality digitizers, and that they are as on the brink of original as possible. The new digitizer contains the rainbow tint round the camera hole and an oleophobic (grease-resistant) coating.
After lamination, we put the refurbished iPad LCD into our autoclave to get rid of any bubbles that haven't been removed during lamination.
Finally, once all the bubbles are removed, the newly refurbished iPad LCD moves to the ultimate stages where we solder a replacement sensor (if necessary), and fully test the LCD for any dust, imperfections or touch issues. Once everything has been checked we fit our warranty sticker and package it during a bubble bag able to be shipped back to you.
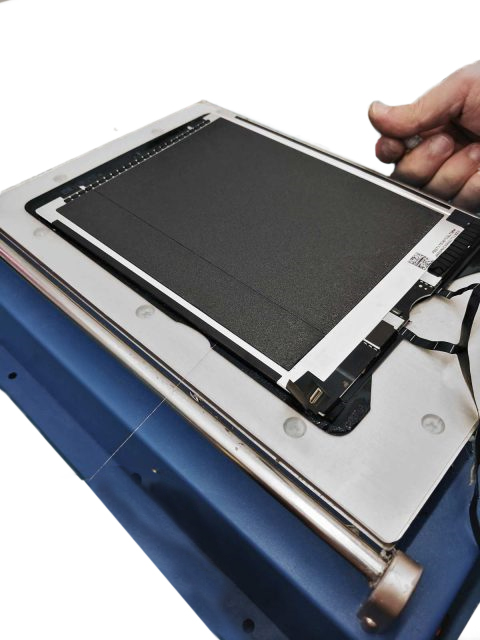
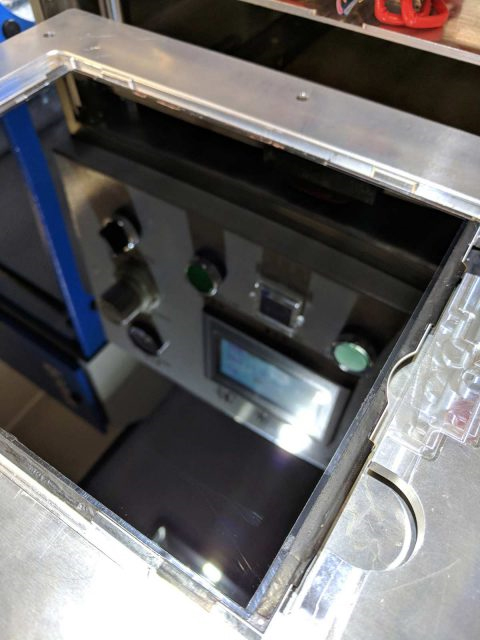
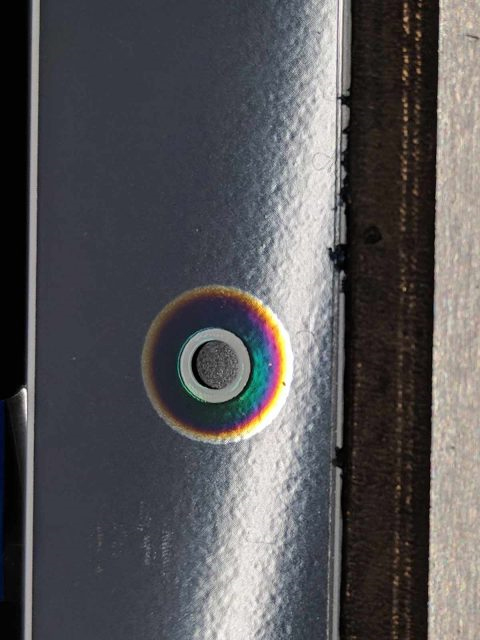
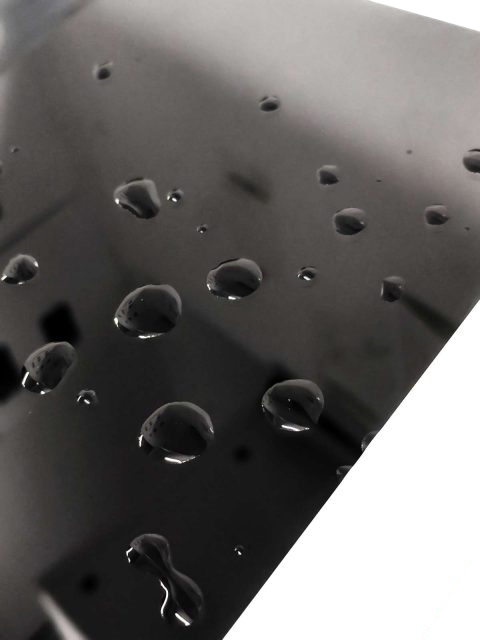
From left to right:- Cutting the broken glass off, the LCD inside the custom mould, the rainbow tint round the camera hole and therefore the oleophobic coating.
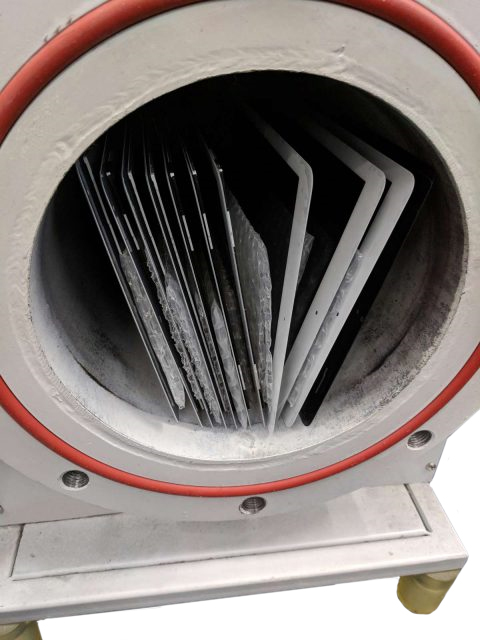
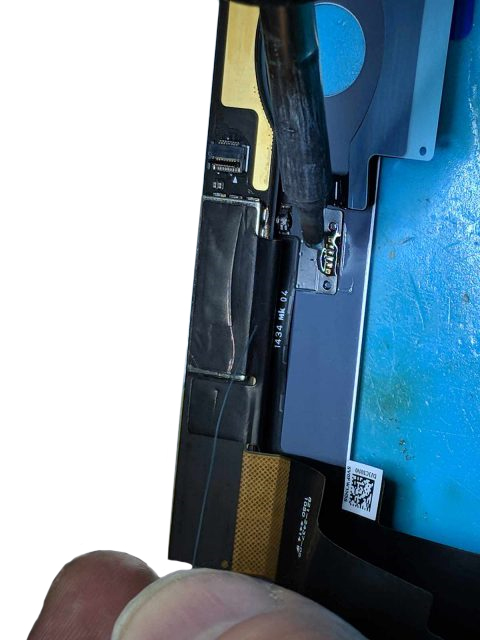
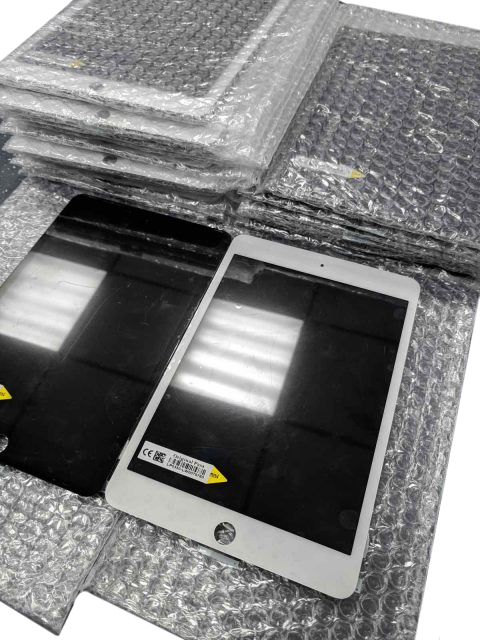
From left to right:- The LCDs within the autoclave, soldering the sensor, adding the stamp and warranty sticker, completed screens able to enter the padded bags and screens getting packed before being sent out.
So, What are you waiting for? Fill out the refurbishment form now!